

As the saying goes, ‘A stitch in time saves nine.’ When it comes to the maintenance of your car, changing the oil is a fundamental task that shouldn’t be overlooked.
The process may seem daunting at first, but with the right guidance and tools, it can be a manageable and rewarding experience.
So, if you’ve ever wondered about the nitty-gritty of oil changes and how to tackle them yourself, stay tuned for a breakdown of the step-by-step process that will help keep your car running smoothly.
Gather Necessary Tools
I’ll grab the essential tools for changing my car’s oil. First, I need a wrench to loosen the drain plug and oil filter. Next, I’ll get an oil filter wrench to remove the old oil filter. It’s crucial to have a funnel to pour in the new oil without any spills. A drip pan will come in handy to catch the old oil when draining it. I’ll also need a pair of safety gloves to protect my hands from the hot engine components and the dirty oil.
Additionally, having a new oil filter and the correct amount and type of oil for my car is essential. A rag or two will help me clean up any messes along the way. A car jack and jack stands are necessary to lift the car safely and work comfortably underneath. Lastly, I’ll make sure to have the owner’s manual nearby for reference. With all these tools gathered, I’m ready to tackle the oil change process efficiently.
Drive Car to Warm Up
I drive my car around the block to warm up the engine before changing the oil.
It’s important to have the engine at operating temperature to ensure the oil drains properly.
Once the engine is warm, I park the car on a level surface and gather all the necessary supplies.
Warm Up Engine
To properly warm up the engine before changing the oil, drive the car for a few miles to ensure the oil is at the optimal temperature for draining. This step is crucial as warm oil flows more easily, allowing for a more efficient and complete oil change process.
Driving the car warms up the engine and helps the oil reach its operating temperature, which helps to suspend any contaminants and allows them to drain out with the old oil. It’s important to avoid excessively long drives, as this can cause the oil to become too hot, making it difficult to work with.
Aim for a moderate drive to warm up the engine sufficiently for a smooth oil change process.
Check Oil Level
Upon completing the warm-up drive, it’s essential to immediately check the oil level before proceeding with the oil change process. Here are the steps to follow:
-
Park the car on a level surface to ensure an accurate oil level reading.
-
Turn off the engine and wait a few minutes for the oil to settle back into the oil pan.
-
Locate the oil dipstick, usually a brightly colored handle labeled ‘Engine Oil,’ pull it out, wipe it clean, reinsert it fully, and then pull it out again to check the oil level.
Gather Supplies
Before gathering supplies for changing my car’s oil at home, I always take my car for a brief drive to warm up the engine. Driving the car helps the oil to flow more easily, making it quicker to drain during the oil change. It’s essential to ensure the engine isn’t scorching hot to avoid burns but warm enough to allow the oil to drain efficiently.
Once the engine is warmed up, I park the car on a level surface and turn off the engine. This step is crucial in preparing the car for the oil change process. After the engine has been warmed up, I’m ready to gather all the necessary supplies for the task ahead.
Lift Car Safely
Before I begin changing my car’s oil, it’s crucial to address the first step: lifting the car safely.
I’ll focus on safe lifting techniques, ensuring proper jack placement, and double-checking for stability.
Taking these precautions is essential to prevent accidents and ensure a successful oil change.
Safe Lifting Techniques
When lifting your car, remember to use proper techniques to ensure your safety and prevent damage to the vehicle. Here are three essential tips to lift your car safely:
-
Position Yourself Correctly: Stand facing the vehicle with your feet shoulder-width apart for stability.
-
Use Proper Lifting Form: Bend your knees, not your back, and lift with your leg muscles while keeping your back straight.
-
Lift Slowly and Carefully: Raise the car gradually using a hydraulic jack or another suitable lifting tool, making sure it’s securely positioned under the designated lift points.
Proper Jack Placement
To lift your car safely, always ensure the hydraulic jack is positioned securely under the designated lift points. These lift points are typically indicated in your car’s owner’s manual and are designed to bear the weight of the vehicle without causing damage.
Before lifting the car, make sure the ground is level and solid to prevent the jack from sinking or tipping. To locate the lift points, refer to your car’s manual or look for reinforced metal sections along the vehicle’s frame. Avoid placing the jack under plastic body panels, as they may crack or deform under the weight.
Check for Stability
Ensuring stability is crucial when lifting a car to change its oil.
-
Check the Ground: Before lifting the car, make sure you’re on a level surface to prevent it from rolling or tipping over.
-
Use Proper Equipment: Ensure you have a sturdy jack and jack stands rated for your vehicle’s weight.
-
Position Carefully: Place the jack under the manufacturer’s recommended lift points and double-check its positioning before raising the car.
Drain Old Oil
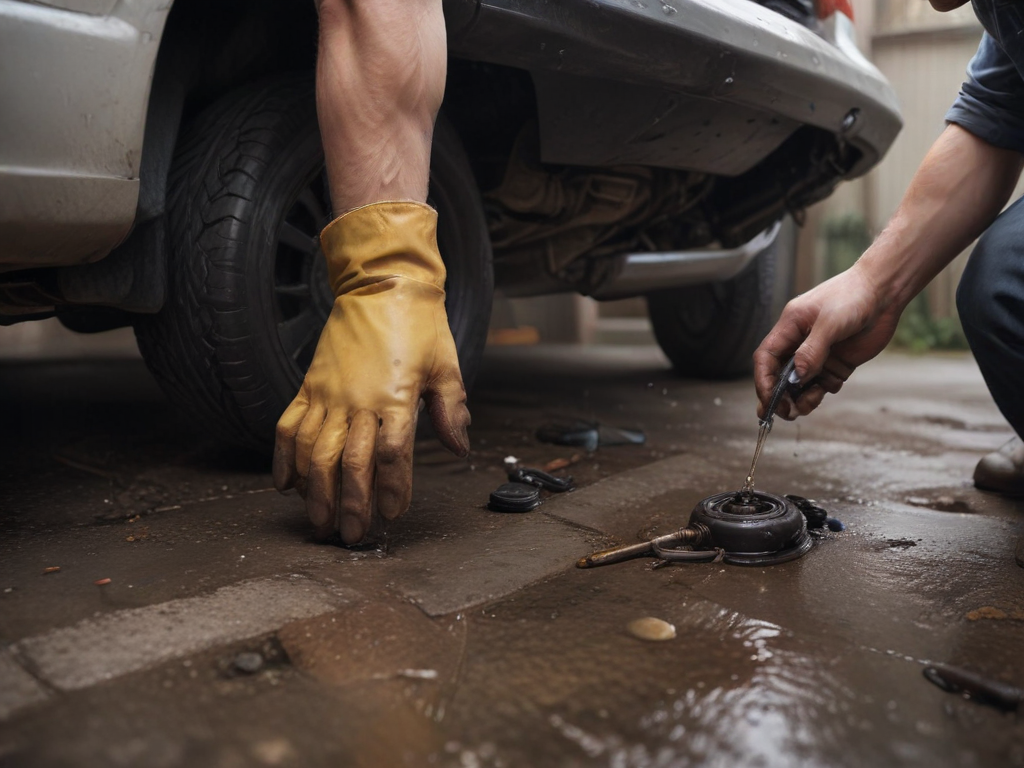
I grab the oil drain pan and position it under the car’s engine to catch the old oil as it flows out. Once the pan is securely in place, I locate the oil drain plug, usually located at the bottom of the engine. Using the appropriate wrench, I carefully loosen the drain plug in a counterclockwise direction. As the plug becomes loose, I make sure to keep a firm grip on it to prevent it from falling into the oil pan.
As the old oil starts to flow out, I wait patiently until it trickles down to a few drops. Ensuring that the drain pan is positioned correctly to catch all the oil, I let it drain completely. Once the oil has drained out completely, I tighten the drain plug back into place by turning it clockwise until snug.
| Step | Description |
|---|---|
| Locate Drain Plug | Find drain plug at the bottom of the engine. |
| Loosen Drain Plug | Use the appropriate wrench to turn counterclockwise. |
| Drain Old Oil | Let the oil flow out completely into the oil pan. |
Replace Oil Filter
After draining the old oil from the car’s engine, the next step is to replace the oil filter. This is a crucial part of the oil change process as the filter helps keep the new oil clean and free from contaminants.
Here’s how to replace the oil filter:
-
Locate the oil filter: The oil filter is typically located near the bottom of the engine. It may be accessed from the top or bottom of the car, depending on the make and model.
-
Remove the old oil filter: Using an oil filter wrench, loosen the old filter in a counterclockwise direction. Be prepared for some oil to drip out when removing the filter.
-
Install the new oil filter: Before installing the new filter, make sure to apply a thin layer of oil to the rubber gasket to create a proper seal. Screw the new filter on by hand in a clockwise direction until snug, then give it a quarter turn more.
Add New Oil
To properly add new oil to your car’s engine, locate the oil filler cap on top of the engine. Before adding the new oil, ensure that you have the correct type and viscosity as recommended by your vehicle’s manufacturer. Remove the oil filler cap by twisting it counterclockwise. This cap is usually labeled and is often located near the front of the engine.
Next, insert a funnel into the opening of the oil filler hole to prevent spills. Slowly pour in the new oil, pausing occasionally to check the oil level using the dipstick. It’s essential not to overfill the engine with oil, as this can lead to damage. Once you have reached the appropriate oil level, replace the oil filler cap by twisting it back on clockwise until it’s secure.
After adding the new oil, start your car and let it run for a few minutes to allow the oil to circulate through the engine. Check for any leaks around the oil filter and oil drain plug.
Check Oil Level
Checking the oil level in your car is a crucial step in maintaining your vehicle’s engine health. It’s a simple process that can help prevent costly engine damage and ensure your car runs smoothly. Here’s how to check your oil level:
-
Park on a Level Surface: Make sure your car is parked on a flat surface to get an accurate oil level reading.
-
Locate the Dipstick: The oil dipstick is usually a brightly colored handle labeled ‘Engine Oil’ or ‘Oil.’ It’s connected to the engine and can be easily pulled out for inspection.
-
Check the Oil Level: Remove the dipstick, wipe it clean with a cloth, reinsert it all the way, and then pull it out again. Look at the oil level; it should fall between the two markers or within the cross-hatched area. If the level is below the minimum mark, you’ll need to add more oil.
Dispose of Old Oil
Properly disposing of old oil is essential for environmental safety and responsible car maintenance. Once you have drained the old oil from your vehicle, it’s crucial to handle its disposal correctly. Improperly discarded oil can contaminate soil and water sources, posing serious harm to the environment and wildlife.
To dispose of old oil, I recommend transferring it from the drain pan into a suitable container with a tightly sealed lid to prevent leaks or spills. Many auto parts stores and recycling centers accept used motor oil for proper disposal. Alternatively, you can check with your local waste management facility for guidelines on how to dispose of old oil in your area.
Remember never to mix oil with other fluids like antifreeze or brake fluid, as this can complicate the recycling process. By taking the time to dispose of old oil responsibly, you aren’t only protecting the environment but also contributing to sustainable practices in car maintenance.
Conclusion
Changing your car’s oil at home is like giving your car a refreshing spa treatment. With just a few simple steps and the right tools, you can keep your vehicle running smoothly and efficiently.
So why not roll up your sleeves, grab your oil filter wrench, and get ready to show your car some love? It’s a DIY project that will leave you feeling like a car maintenance guru in no time.