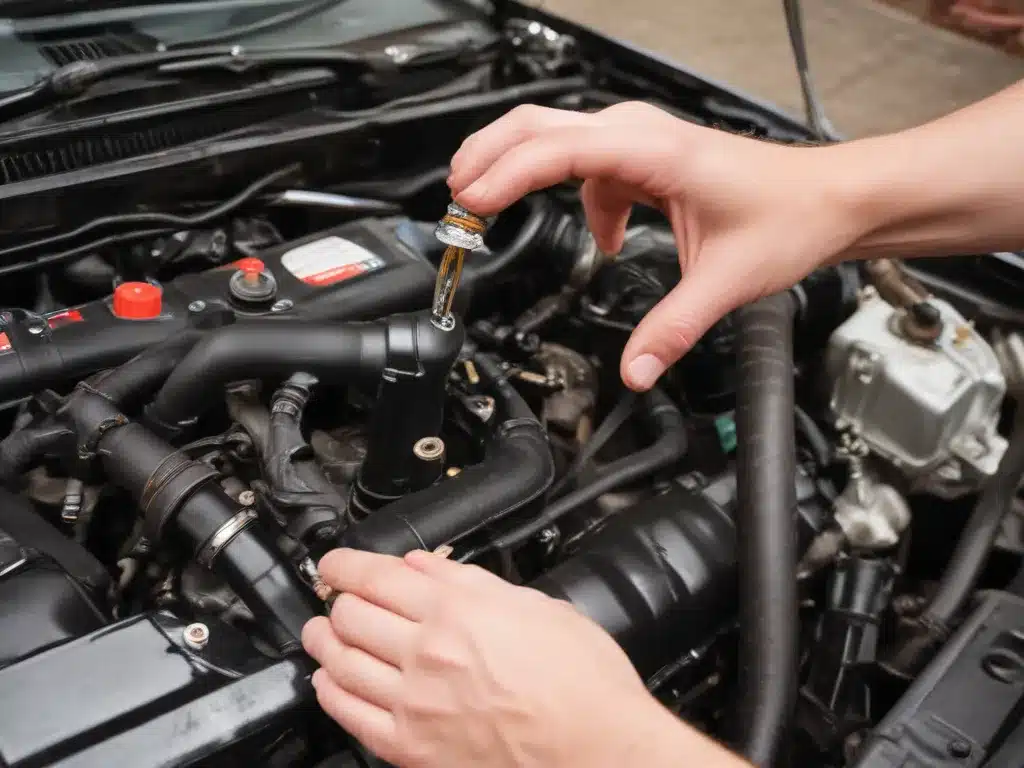
Embracing the Grease Monkey Within
Ah, the age-old ritual of the oil change – a task that has struck fear into the hearts of many a car owner. But you know what they say, “the mechanic’s apprentice is the one who ends up with the greasiest hands.” And let me tell you, there’s a certain sense of pride and accomplishment that comes with tackling this DIY project all by your lonesome.
I can still remember the first time I decided to roll up my sleeves and get my hands dirty. It was like a rite of passage, a chance to prove my mettle as a true automotive enthusiast. Sure, the idea of crawling under my trusty steed and getting up close and personal with its inner workings was a bit daunting at first. But hey, if those greasy-fingered mechanics can do it, so can I, right?
Gathering Your Tools and Supplies
Now, before you jump in headfirst, it’s crucial to make sure you have all the necessary tools and supplies. Trust me, the last thing you want is to be halfway through the process and realize you’re missing a crucial component. The last thing you want is to be halfway through the process and realize you’re missing a crucial component.
Let’s start with the basics: you’ll need an oil filter wrench, a drain pan to catch the old oil, and of course, the new oil itself. I recommend going with a high-quality synthetic oil to keep your engine running like a dream. And don’t forget the filter – make sure to get one that’s specifically designed for your vehicle.
But the real secret weapon in your DIY oil change arsenal? A good set of jack stands. These babies will keep your car safely propped up while you work, so you can avoid any unfortunate accidents. Trust me, you don’t want to be that person who ends up trapped under their own vehicle.
Getting Your Hands Dirty
Alright, now that you’ve got your tools and supplies all lined up, it’s time to get down to business. The first step is to park your car on a level surface and engage the parking brake. Safety first, folks!
Next, locate the oil drain plug, usually located at the bottom of the oil pan. Place your drain pan underneath, and using your trusty wrench, loosen that sucker up. Now, here’s where you’ll want to be patient – let that old oil drain out completely before moving on.
While you’re waiting, pop the hood and locate the oil filter. This is where that filter wrench is going to come in handy. Carefully remove the old filter, making sure not to spill any of that precious black gold.
Refilling and Inspecting
With the old oil and filter out of the way, it’s time to start the refilling process. Unscrew the oil fill cap and gradually pour in the new oil, being careful not to overfill. Keep an eye on the dipstick to make sure you’re hitting that sweet spot.
Once you’ve got the new oil in, it’s time to replace the drain plug and tighten it back up. But don’t go too crazy – you don’t want to strip the threads.
Now, here’s the moment of truth: start up your engine and let it run for a minute or two. Listen carefully for any unusual noises or leaks, and keep an eye on the oil pressure gauge. If everything’s looking good, you can pat yourself on the back – you just successfully completed your first DIY oil change!
Protecting Your Investment
But the journey doesn’t end there, my friend. Regular maintenance is key to keeping your trusty ride running smoothly for years to come. That’s why I highly recommend setting a reminder to change your oil every 3,000 to 5,000 miles, or whenever your owner’s manual suggests.
And while you’re at it, don’t forget to check your other fluids and filters too. Keeping a close eye on the overall health of your vehicle will go a long way in ensuring it stays on the road for the long haul.
The Rewards of DIY
Now, I know what you’re thinking – “But won’t this just be a messy, time-consuming hassle?” And you know what, you’re not wrong. There’s definitely a bit of elbow grease involved in this whole DIY oil change thing. But trust me, the sense of accomplishment you’ll feel when you’re done is worth it.
Plus, think of all the money you’ll save by not having to rely on the pros. That’s money that can go towards more exciting automotive upgrades, like that sweet new set of rims you’ve been eyeing.
So, are you ready to join the ranks of the DIY oil change masters? It may be a bit intimidating at first, but with the right tools, a little know-how, and a healthy dose of determination, you’ll be an old pro in no time. And who knows, you might even find a new-found appreciation for the inner workings of your beloved vehicle.
Ready, set, get greasy!


