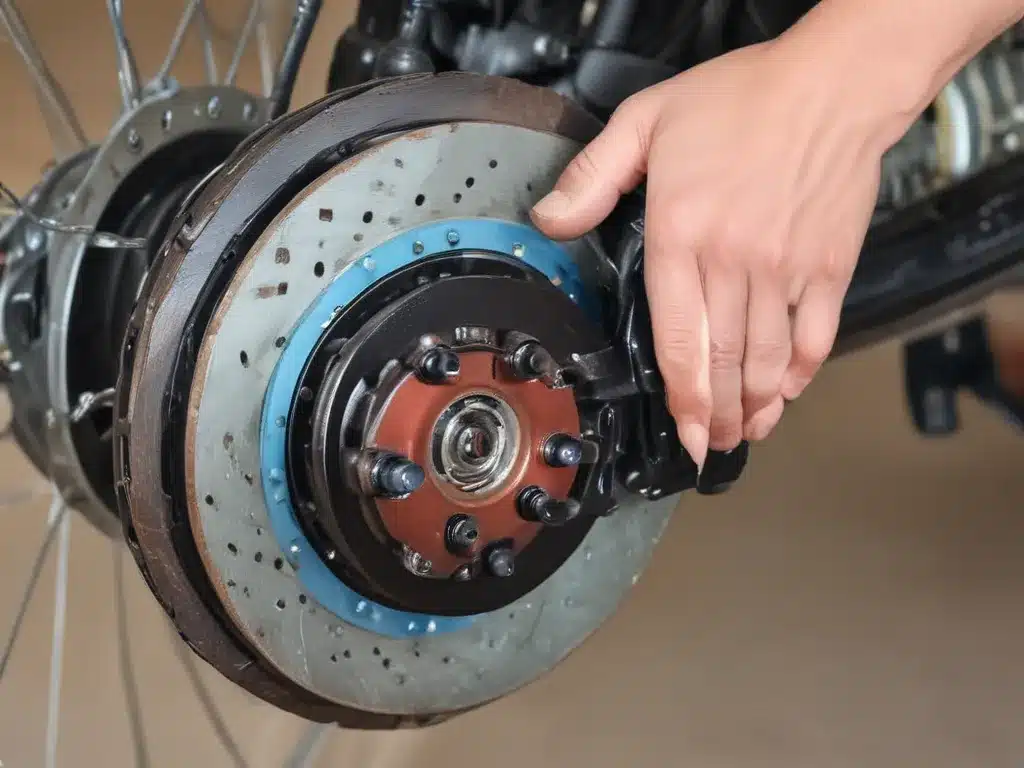
Alright, folks, let’s talk about a crucial aspect of car maintenance that can save you a pretty penny: changing your disc brake pads. Now, I know what you’re thinking – “But I’m no mechanic! Isn’t this one of those things best left to the professionals?” Well, hear me out, my friends, because with a little elbow grease and the right know-how, you can absolutely tackle this task yourself.
Understanding the Importance of Disc Brake Pad Replacement
Let’s start with the basics. Your disc brake pads are the unsung heroes of your vehicle, responsible for slowing down and stopping your wheels as you drive. Over time, however, these pads can wear down, becoming thin and ineffective. Ignoring this issue can not only compromise your safety, but it can also lead to more expensive repairs down the line, like damaged rotors or calipers.
But why is changing the pads so important? Well, imagine you’re cruising down the highway, and suddenly you need to slam on the brakes. If your pads are worn, your stopping distance is going to be significantly longer, putting you and your passengers at risk. Not to mention the damage that can be done to other components if you let those pads wear down too far.
Preparing for the Disc Brake Pad Replacement
Alright, now that we’ve covered the importance of this task, let’s dive into the nitty-gritty of how to actually get it done. First and foremost, you’ll need to gather your tools and supplies. This includes a jack, jack stands, a lug wrench, a caliper tool (or C-clamp), a brake pad spreader, and of course, your replacement brake pads.
But before you get started, it’s crucial to make sure you have the right parts for your vehicle. Brake pads come in a variety of sizes and materials, so be sure to consult your owner’s manual or do a quick online search to find the perfect fit for your make and model.
Step-by-Step Guide to Changing Disc Brake Pads
Once you’ve got everything you need, it’s time to get your hands dirty. I like to start by loosening the lug nuts on the wheel you’ll be working on, but leave them finger-tight for now. Next, use the jack to safely lift the wheel off the ground, and then remove the lug nuts and the wheel itself.
Now, the fun part begins! You’ll need to locate the caliper, which is the large metal component that holds the brake pads in place. Using your caliper tool (or a C-clamp), gently push the caliper piston back into the caliper housing. This will make room for the new, thicker pads.
Once the caliper is out of the way, you can remove the old brake pads. Be careful – they can be pretty stubborn! Use your brake pad spreader to pry them out, and then give the caliper and rotor a good inspection. If everything looks good, go ahead and install the new pads, making sure they’re seated properly.
But we’re not done yet! You’ll need to re-install the caliper and secure it in place. Don’t forget to reconnect any brake hoses or electrical connections as well. Finally, put the wheel back on, tighten the lug nuts, and lower the vehicle back to the ground.
Testing and Troubleshooting
Alright, you’ve done the hard work, but we’re not quite finished yet. Before you take your car for a spin, it’s important to test the new brake pads to make sure everything is working as it should.
Start by slowly driving in a safe, open area and gently applying the brakes. Pay attention to the feel and responsiveness of the pedal – it should be firm and consistent. If you notice any unusual noises, vibrations, or a spongy pedal, it’s time to go back and double-check your work.
And remember, it’s normal for new brake pads to need a bit of “breaking in” before they reach their full potential. So, be patient and give them a few hundred miles to fully bed in. Trust me, your efforts will be well worth it when you’re cruising down the road with confidence, knowing that your brakes are in tip-top shape.
Conclusion: Embrace Your DIY Spirit!
So, there you have it, folks – a comprehensive guide to changing your disc brake pads on your own. I know it might seem intimidating at first, but trust me, it’s a skill worth acquiring. Not only will it save you a ton of money in the long run, but it’s also incredibly satisfying to know that you can take care of your ride like a pro.
So, what are you waiting for? Grab your tools, put on your best “I’m-a-mechanic” face, and get to work! And remember, if you ever need a little extra support or have any questions, you can always reach out to the folks over at AutoOilAndFluid.com – they’re always happy to lend a helping hand.


