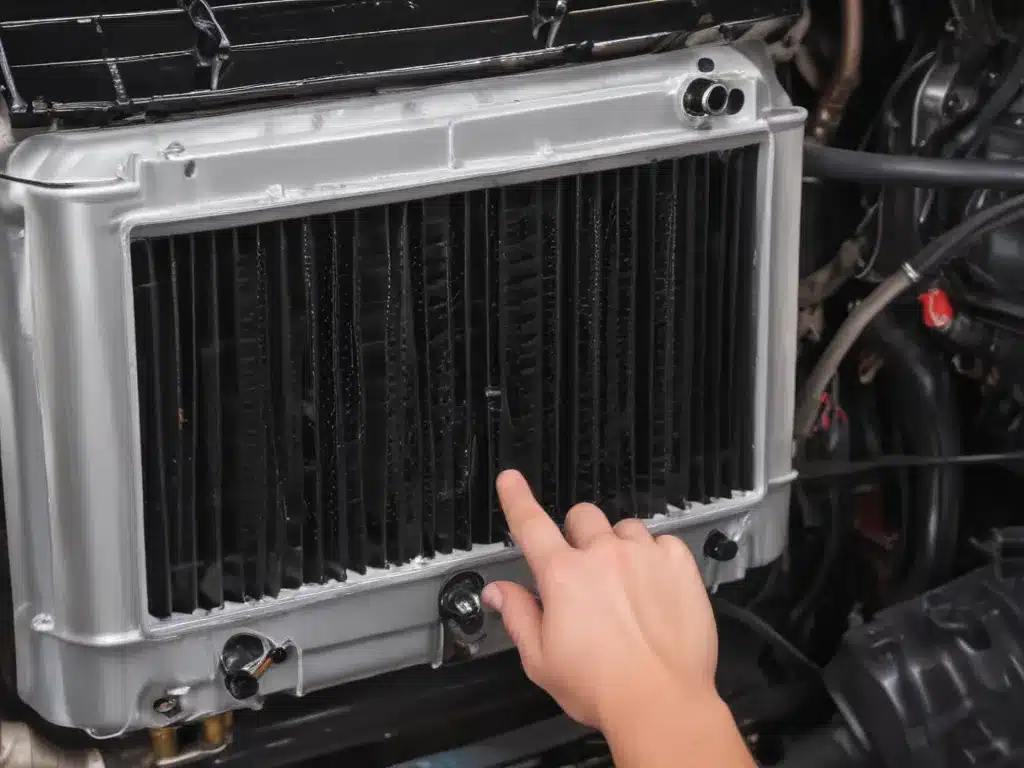
Unclogging the Arteries of Your Ride
Ah, the radiator – that unsung hero of the automotive world. It’s the beating heart that keeps your engine from turning into a molten mess, and let me tell you, neglecting its maintenance can lead to some serious trouble down the line. But fear not, my friend, because today I’m going to walk you through the process of flushing your radiator and cooling system, ensuring your ride stays as cool as a cucumber (or at least cooler than a blast furnace).
Let’s start with the basics – why is a radiator flush so darn important, anyway? Well, over time, that trusty cooling system of yours can accumulate all sorts of gunk and grime, from rust and corrosion to mineral deposits and even the occasional stray bit of engine sludge. And when that happens, it’s like trying to run a marathon through a swamp – your engine just can’t get the airflow it needs to stay chill.
But that’s not the only problem. Oh no, this nasty buildup can also lead to some pretty serious issues, like reduced cooling efficiency, hot spots in the engine, and even complete radiator failure. And trust me, you do not want to be on the side of the road with a steaming, overheated engine – that’s a recipe for a bad day.
The Tools of the Trade
Alright, now that we’ve got the “why” out of the way, let’s talk about the “how.” To flush that radiator of yours, you’re going to need a few key tools in your arsenal. First and foremost, you’ll need a radiator flush and fill kit. These bad boys come with everything you need, from the flushing solution to the adapters to connect it to your car’s cooling system.
Next up, you’ll want a good old-fashioned garden hose. This is going to be your secret weapon in the fight against radiator grime. And don’t forget a catch basin or container to collect all that nasty, contaminated coolant as it drains out.
The Flushing Process
Okay, let’s do this! Here’s a step-by-step guide to flushing your radiator and cooling system:
-
Park and Cool: First things first, make sure your car is parked on a level surface and the engine is completely cool. You don’t want to be dealing with any hot, pressurized coolant, trust me.
-
Locate the Radiator: Identify the radiator, usually located at the front of the engine compartment. You’ll see the inlet and outlet hoses connected to it.
-
Drain the Coolant: Locate the radiator drain plug, usually at the bottom, and open it up to let all the old, contaminated coolant drain out. Make sure to catch it in your container.
-
Flush with Water: Once the radiator is empty, attach your garden hose to the radiator inlet and turn on the water. Let it run until the water coming out the outlet is clear and free of debris.
-
Add the Flush Solution: Now it’s time to introduce the radiator flush solution. Follow the instructions on the kit, but generally, you’ll want to pour it into the radiator and let it circulate for a bit.
-
Flush Again: After letting the flush solution do its thing, it’s time to flush the system again with clean water. Keep running the hose until the water runs clear.
-
Refill with New Coolant: The final step is to refill the radiator with fresh, high-quality coolant. Make sure to use the right type for your vehicle, and fill it up to the proper level.
Keeping Your Ride Cool and Happy
And there you have it, folks – a freshly flushed and refilled radiator and cooling system. But the work doesn’t end there. To keep your ride running like a well-oiled machine (pun intended), you’ll want to make a radiator flush a regular part of your maintenance routine, say, every year or so.
Trust me, your engine will thank you. And who knows, maybe you’ll even start to feel a little extra spring in your step, knowing that your car is running at peak performance. So, what are you waiting for? Get out there and give your radiator the TLC it deserves!
P.S. Oh, and if you’re looking for a trusty team to handle all your car maintenance and oil change needs, be sure to check out AutoOilAndFluid.com. They’ve got the skills and the know-how to keep your ride running like a dream.


